These tricks from professional pitmasters take the intimidation out of smoking meat. Are you ready to become a master yourself?

8 Smoking Tips Every Professional Pitmaster Knows

Published on Jun. 04, 2025
Smoked meat—it’s a delicacy that takes time, practice and patience. Unlike using a grill for a quick barbecue cookout, smoking meat can take quite a few hours, but boy, are the results worth the wait!
We found ourselves surrounded by all things smoked at this year’s Lone Star Smokeout, where we got to fill our stomachs with delicious ribs, brisket and pork, while watching the professionals showcase their skills. Before we fell into a food coma from all that protein, we asked the pitmasters one important question: What’s your secret to smoking success? Here’s what they said.
Tip 1: Learn Your Equipment
As with anything new, the best place to start is with the basics. Steven Rossler of Rosslers’ Blue Cord Barbecue stresses the importance of learning the ins and outs of your equipment before using it. “Each grill or smoker has its own personality—airflow quirks, hot spots, heat retention and recovery time,” says the Texas pitmaster. It’s important to familiarize yourself with all these features.
Tip 2: Prepare, Prepare, Prepare
Preparing your meat ahead of time can make smoking it a little less time-consuming. Rossler says bigger cuts of meat, like brisket and pork butt, should be “trimmed and seasoned the night before. That way, when the fire is ready, so are they.” Preparing your seasonings, supplies and utensils is a classic kitchen trick that you shouldn’t pass up.
Tip 3: Burn Clean Fires
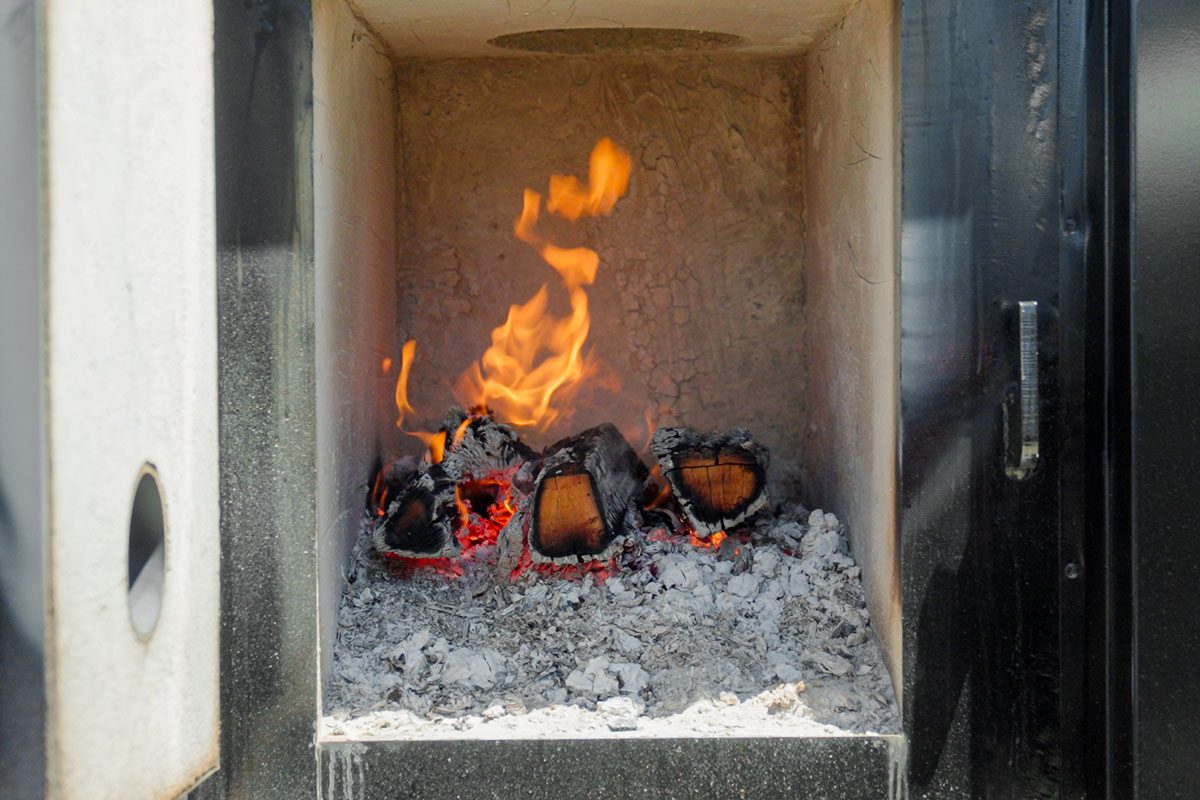
What’s a clean fire, exactly? “It means having a solid bed of coals to start, burning wood that’s not too green (fresh) and making sure your fire is getting proper airflow,” says Andrew Samia from Curry Boys BBQ, which has locations in Texas and Tennessee. This helps prevent heavy smoke from creating unwanted bitter flavors in your meat.
Tip 4: Control the Temperature

Smoking meat can seem a bit intimidating when you have to cook it for so long. What if it comes out dry? It’s natural to want to peek every hour or so, but doing this will let in cool air, making the cook time even longer. John Matthews, pitmaster of Pappy’s Smokehouse, gives a simple trick to avoid that worry without setting yourself back.
The Missouri pro suggests starting at a lower temperature: “You can always add more, but you can’t take it away. Invest in a good thermometer.” The thermometer will give you that peace of mind of knowing just how much longer your meat needs to cook, and starting with those lower temperatures gives you a bit of grace in time.
Tip 5: Create Heat Zones
Smoke like a professional by creating two to three heat zones on your grill. Rossler uses this technique when he’s cooking, saying it “gives me full control over how proteins are cooked.” Dedicate one area for searing by stacking coals until it reaches a whopping 600° to 800°—this is where you’ll “build crust, lock in juices and develop flavor.” Then, rotate your protein to another zone used for cooling down, where you can finish cooking it without the risk of it burning.
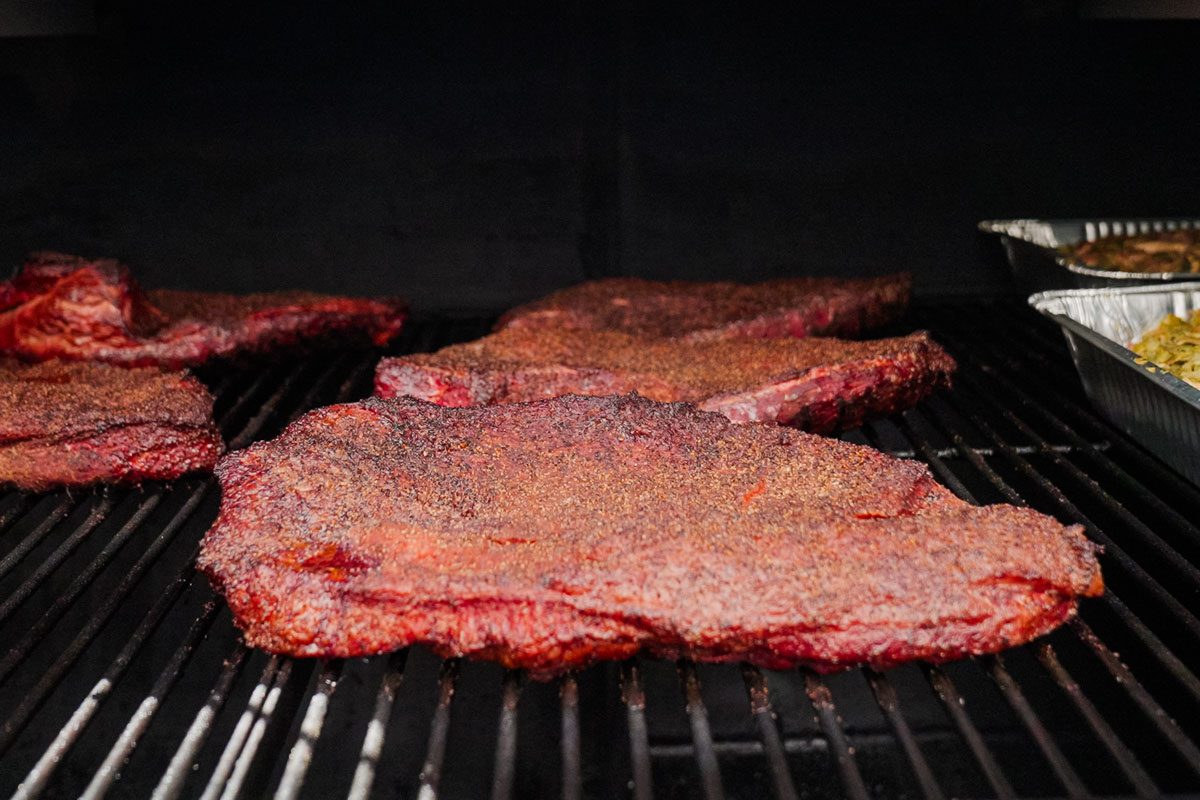
Tip 6: Don’t Go Overboard on the Woodchips
More woodchips equal more flavor, right? Not quite. If you’re using a gas or electric smoker, you only need enough wood for smoking those initial two to three hours, Matthews says. He explains that when the “exterior of the meat reaches 170° to 180°, it constricts to the point that it doesn’t absorb more smoke,” ending that “smoke ring period” that creates that pink edge on meats that’s visible when you cut into it.
Tip 7: Wait for the Perfect Bend in Your Ribs
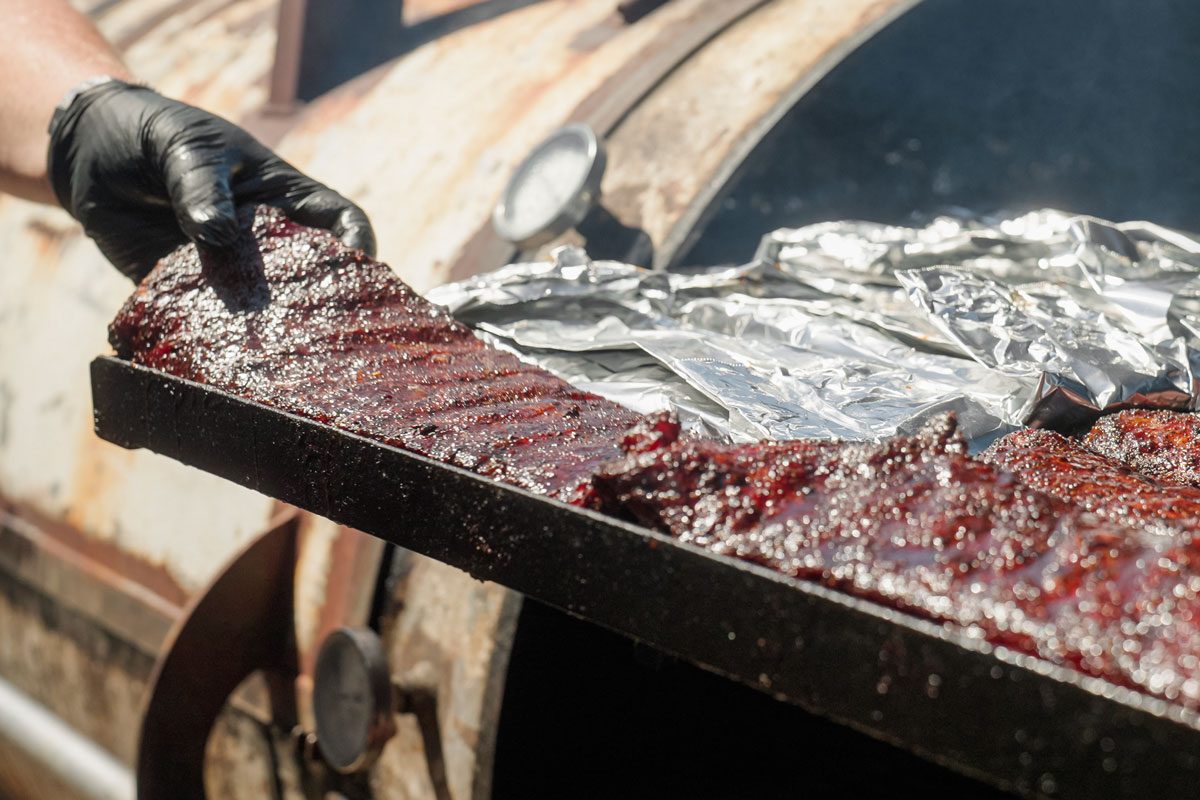
When you’re cooking a rack of ribs, you want meat to reach that sweet spot where it’s not too stiff but doesn’t quite fall off the bone. Arkansas pitmaster Jordan Wright, from Wright’s Barbecue, has the perfect tell, advising that it’s all about the bend in the ribs. “Every good rib cook knows what it feels like when you lift the rack of ribs from the middle and it bends around your hand,” Wright says. If the ribs feel tight when you lift them, keep cooking.
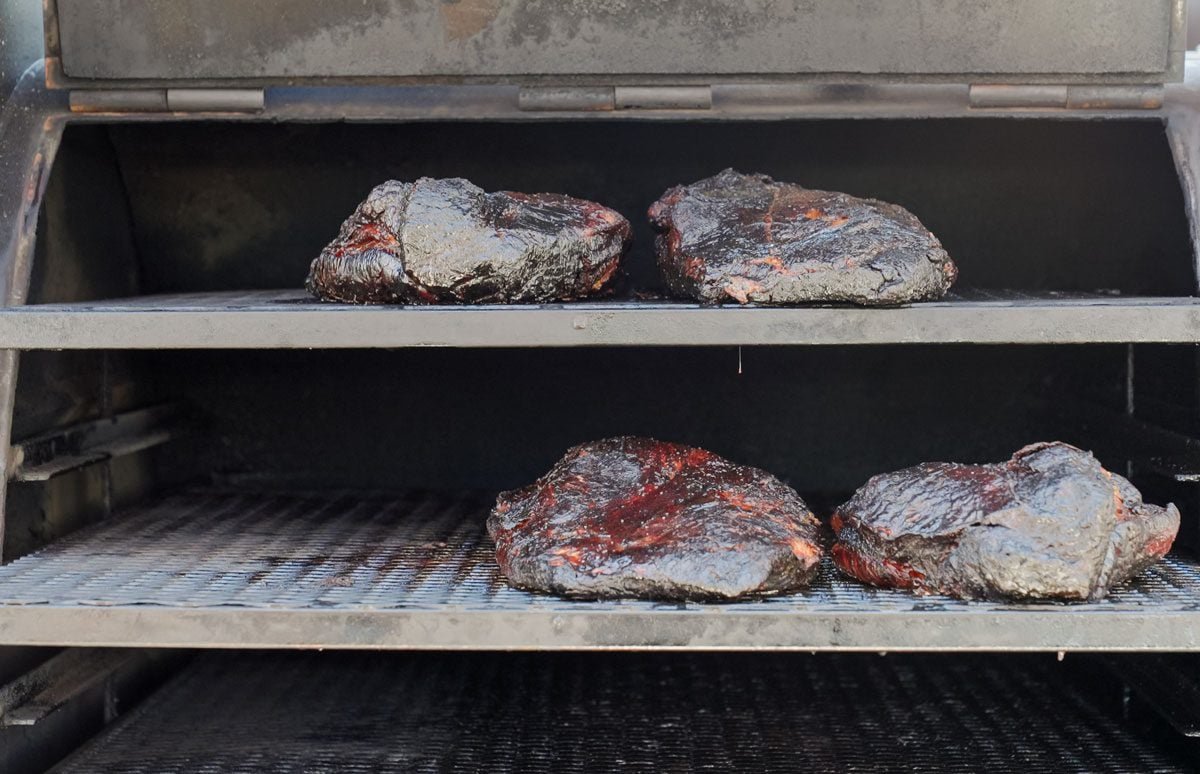
Tip 8: Know When to Take the Meat off the Heat
Towards that last half hour of cooking, you might look at your meat and think: “Just a few more minutes and I’ll take it off.” Waiting could thwart your dream of perfectly cooked brisket. Brand Hurtado of Hurtado BBQ in Texas says you should actually “take your meat off the grill sooner, as it will cook 5° to 8° more when you pull it off.” And to help finish the off-grill cooking, he tips to “rest your meat with tin foil and it will continue to cook inside.”
If you’re ready to give these tips a try, but you’re sans smoker, don’t fret. It’s easy to convert a grill into a smoker in just a few steps.